In this post I will explain step by step on how I did my layering and photo retouching.

Created the date for this event by using the "Horizontal Type Tools"

Then, I transferred every layer of all the images that I want to use for the e-wallpaper onto the background that I have already selected earlier.

The images is arranged neatly. I created a specific name for every layer to make it easier.

For 'Paperman', I'm using 'Multiply' as its blend mode, "Drop Shadow" and "Bevel and Emboss" for style.

The brightness and contrast were adjusted for a better look.

Selected the multiply mode for "MMU OPEN DAY" and for the Styles, I'm using "Outer Glow" and "Bevel and Emboss".

For "Date", I'm using "Multiply", "Drop Shadow" and "Outer Glow"
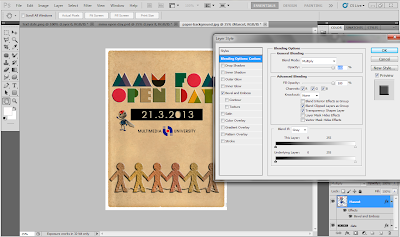
For "Mascot" I'm using "Multiply", and "Bevel and Emboss"

For "MMU" logo, I'm using "Multiply", "Drop Shadow" and "Outer Glow".
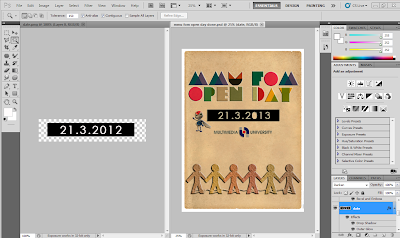
At the end of the process, I just realized that the year for the event is wrong, so I had to edit the year.

The completed version.

My MMU FOM OPEN DAY e-WALLPAPER
2 comments:
Heee so cute! Last2 tak guna pun raw images sebelum2 ni.
I guna dua je sbb lecturer pon kata at least kena guna 2 kan. Haha ramai sgt guna gmabr students and bubble tu. tak best
Post a Comment